
With the WordPress plugin, you can access all the products you have added to Shopper.com on your WordPress blog. The plugin allows you to display all your products on a specific location (yourblog.com/myproducts) or insert it into the blog posts with beautifully designed product displays.
You can connect to your Shopper.com page within your WordPress site by entering the Shopper account log-in credentials.
Here is a step-by-step guide to help you learn how to use our WordPress Plugin to connect your Shopper Store to WordPress:
Step 1: Install the WordPress Plugin
If you are new to plugins on WordPress or not sure about how to do the same, follow these steps:
- Log in to your WordPress blog/ website
- A menu panel will now be visible on the left side of the page.
- Scroll down until you come across the “Plugin” option.
- In the search bar, enter “Shopper.com”.
- Select the plugin and click on the blue “Activate” button.
- This will install the Shopper WordPress Plugin on your account.
Step 2: Connect with your Shopper.com account
Once you have the Shopper WordPress plugin installed, the next thing you need to do is know how to connect your plugin to your Shopper.com account.
For that, open the menu panel on your WordPress account and navigate down.
Once Shopper.com is installed and activated, you will see a tab called “Shopper.com” under the Settings menu.
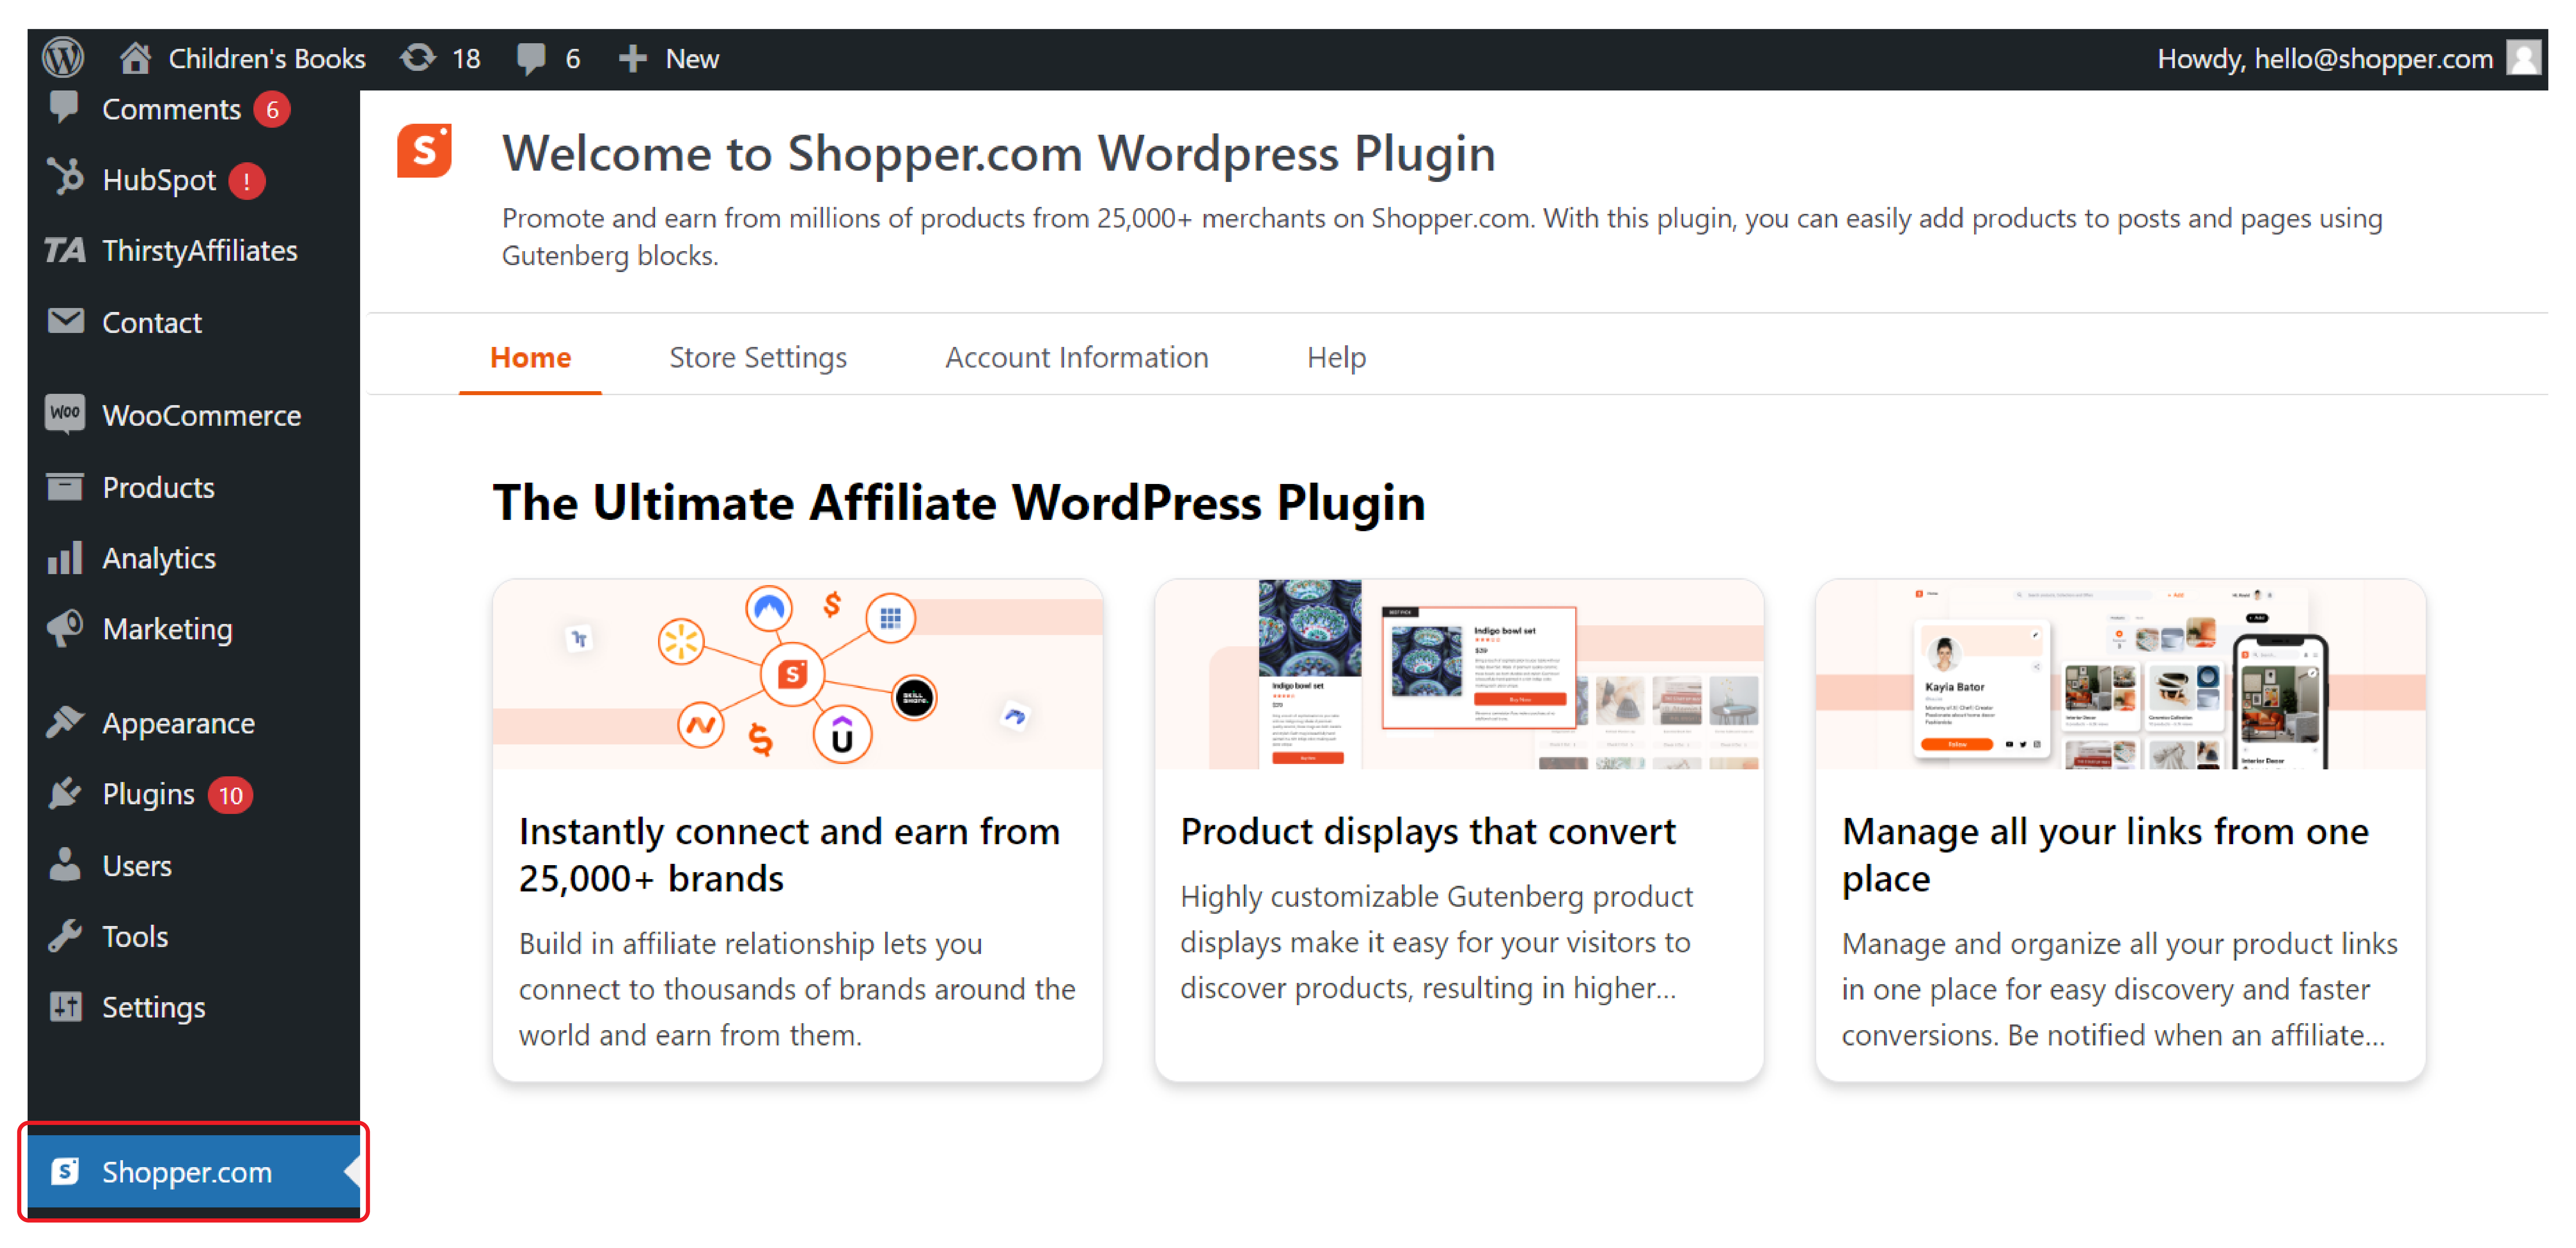
Click on Shopper.com and navigate to ‘Account Information’ tab and login using your existing Shopper login credentials.
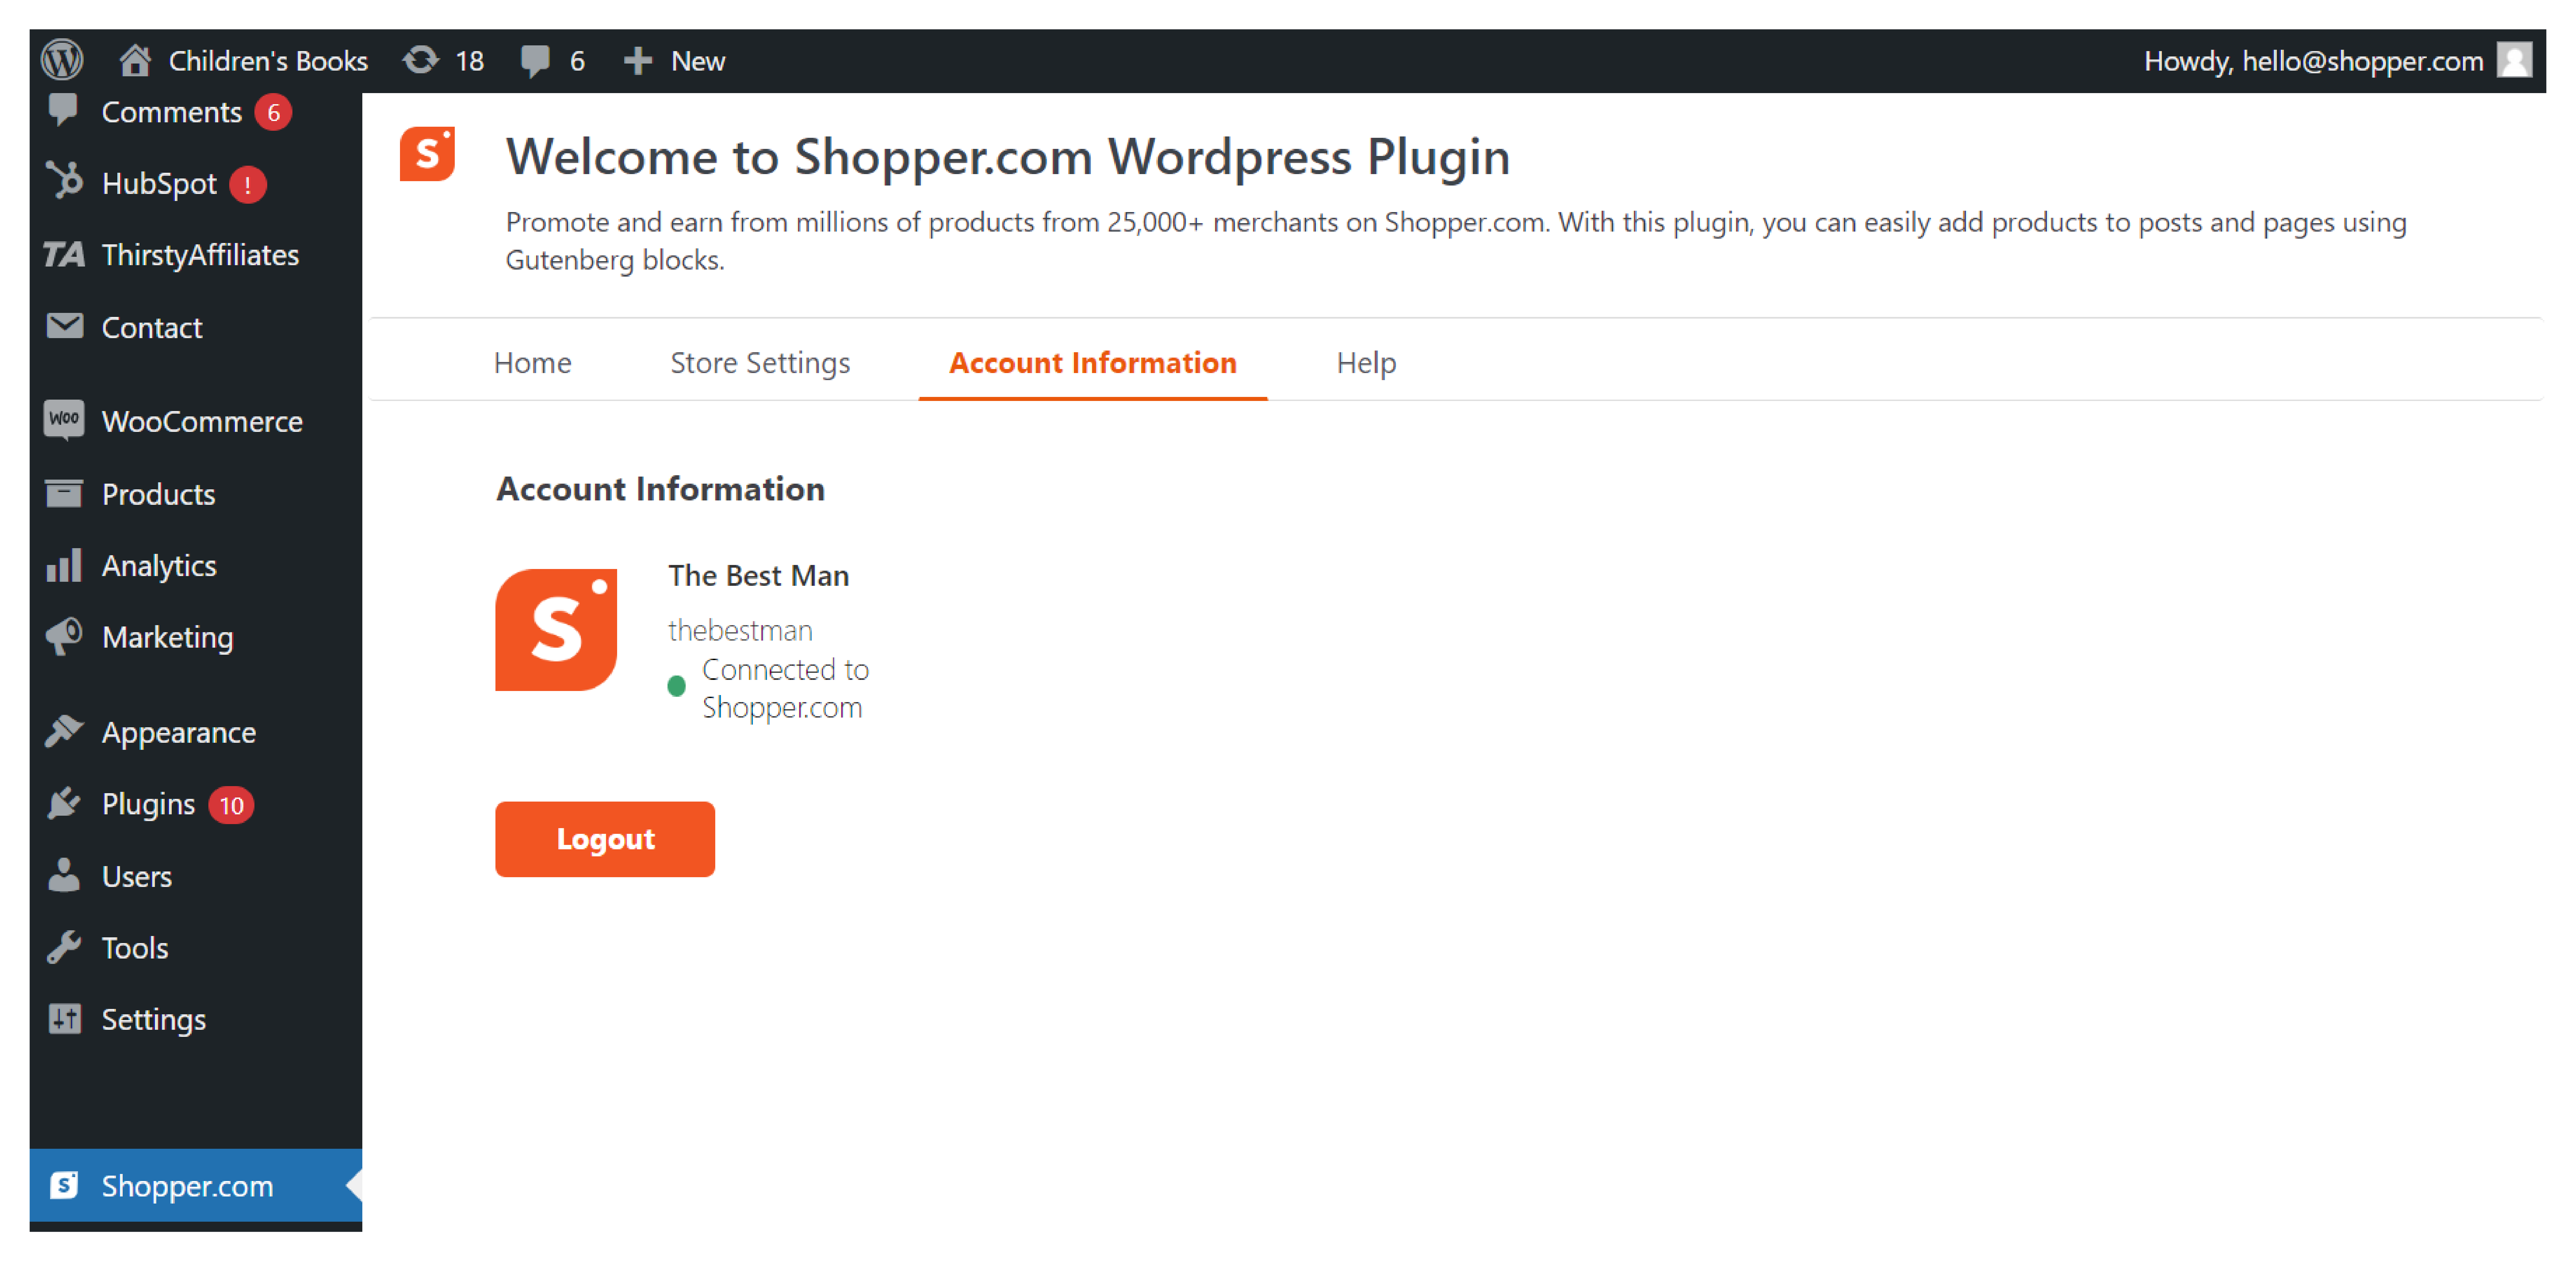
Step 3: How to display your products
Once you successfully connect our WordPress plugin, you are all set to add the products to your posts. There are two options to display the products: