Bloggers can easily add products to their posts and pages with the Shopper WordPress Plugin. The Shopper WordPress Plugin is compatible with Gutenberg Editor.
How to Add Shopper.com Blocks?
In the Gutenberg Block Editor, paragraphs, images, and other content are added using blocks. The added benefit of using blocks is that you can edit sections and rearrange content seamlessly.
Follow these steps to add Shopper.com product displays to your WordPress post/ page (Gutenberg) Editor:
- Add New or Edit a post or page.
- Next, click on the 'plus (+)' button from the top left corner or you can use the plus button on the body of the post or page.
- This will open a menu panel which will also feature the blocks you added.
- Search for Shopper to get your Shopper.com block
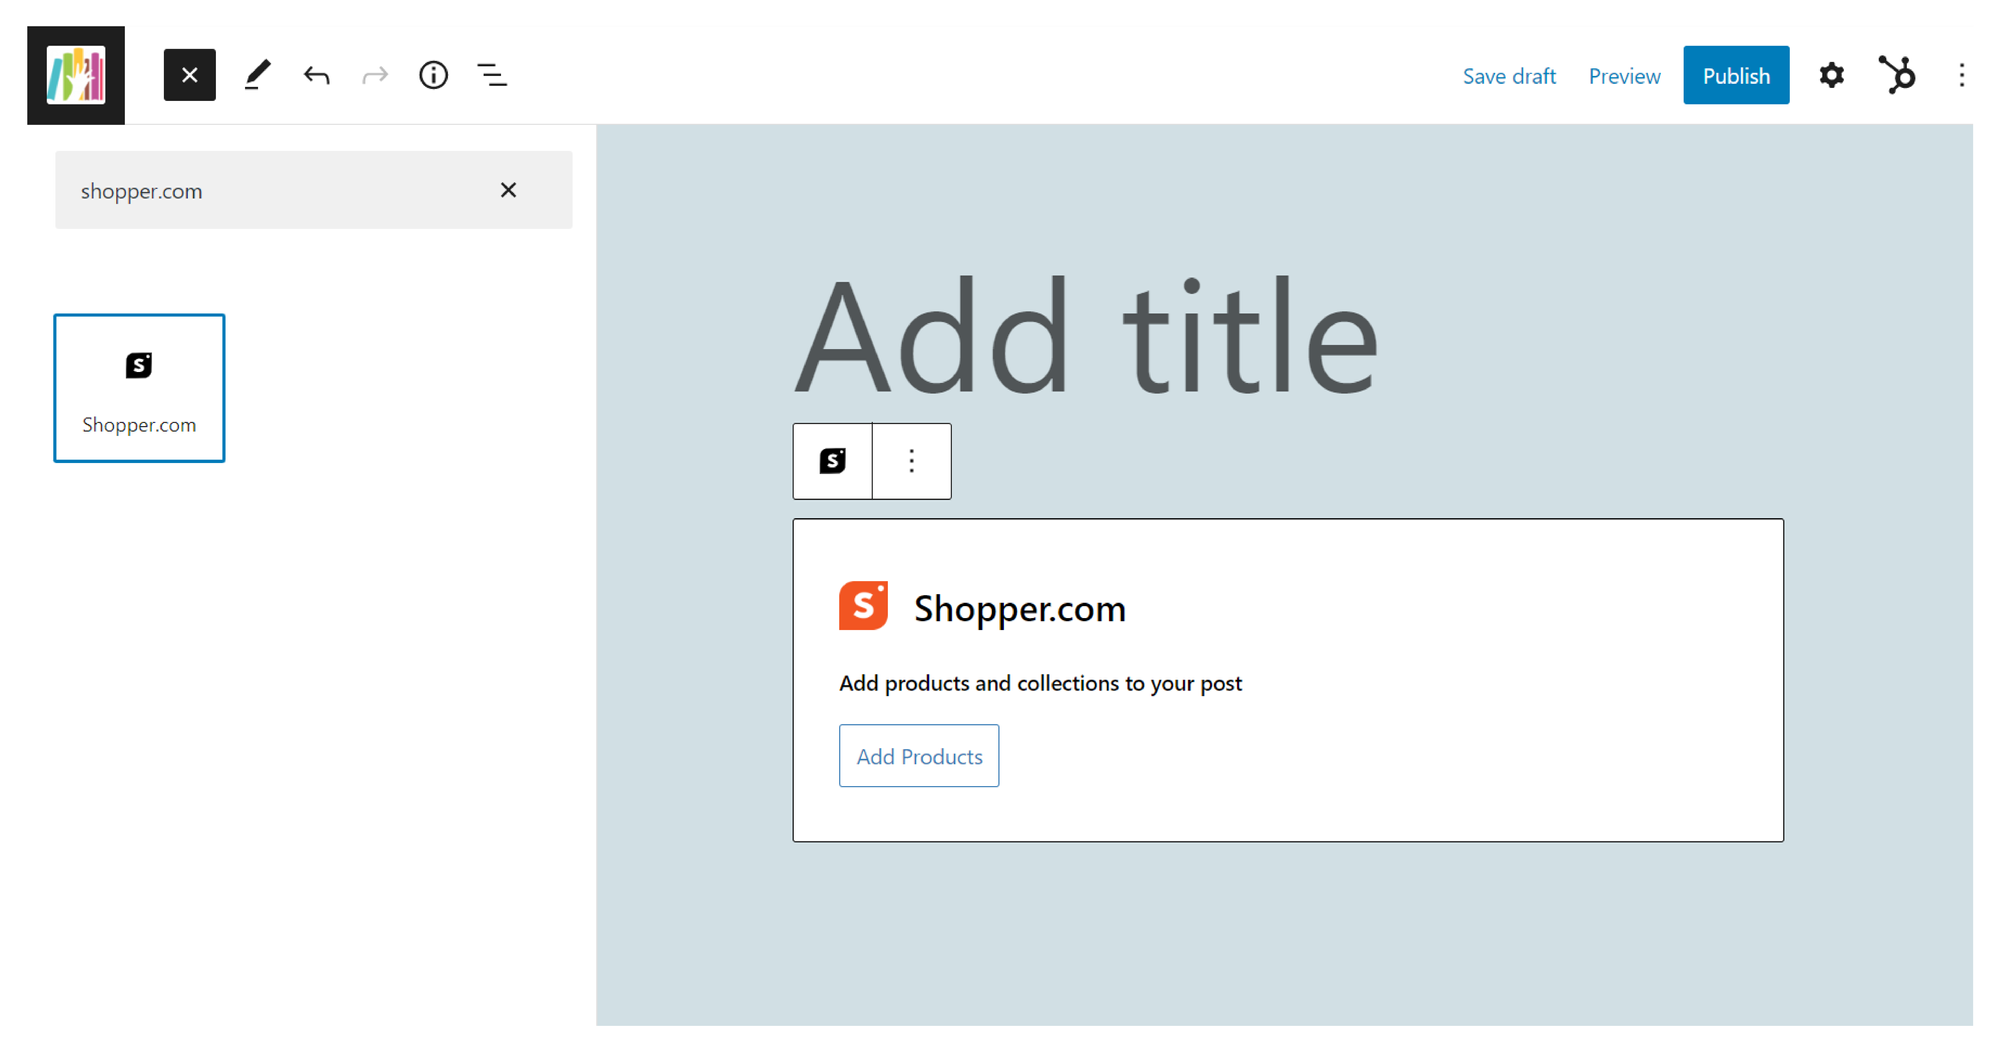
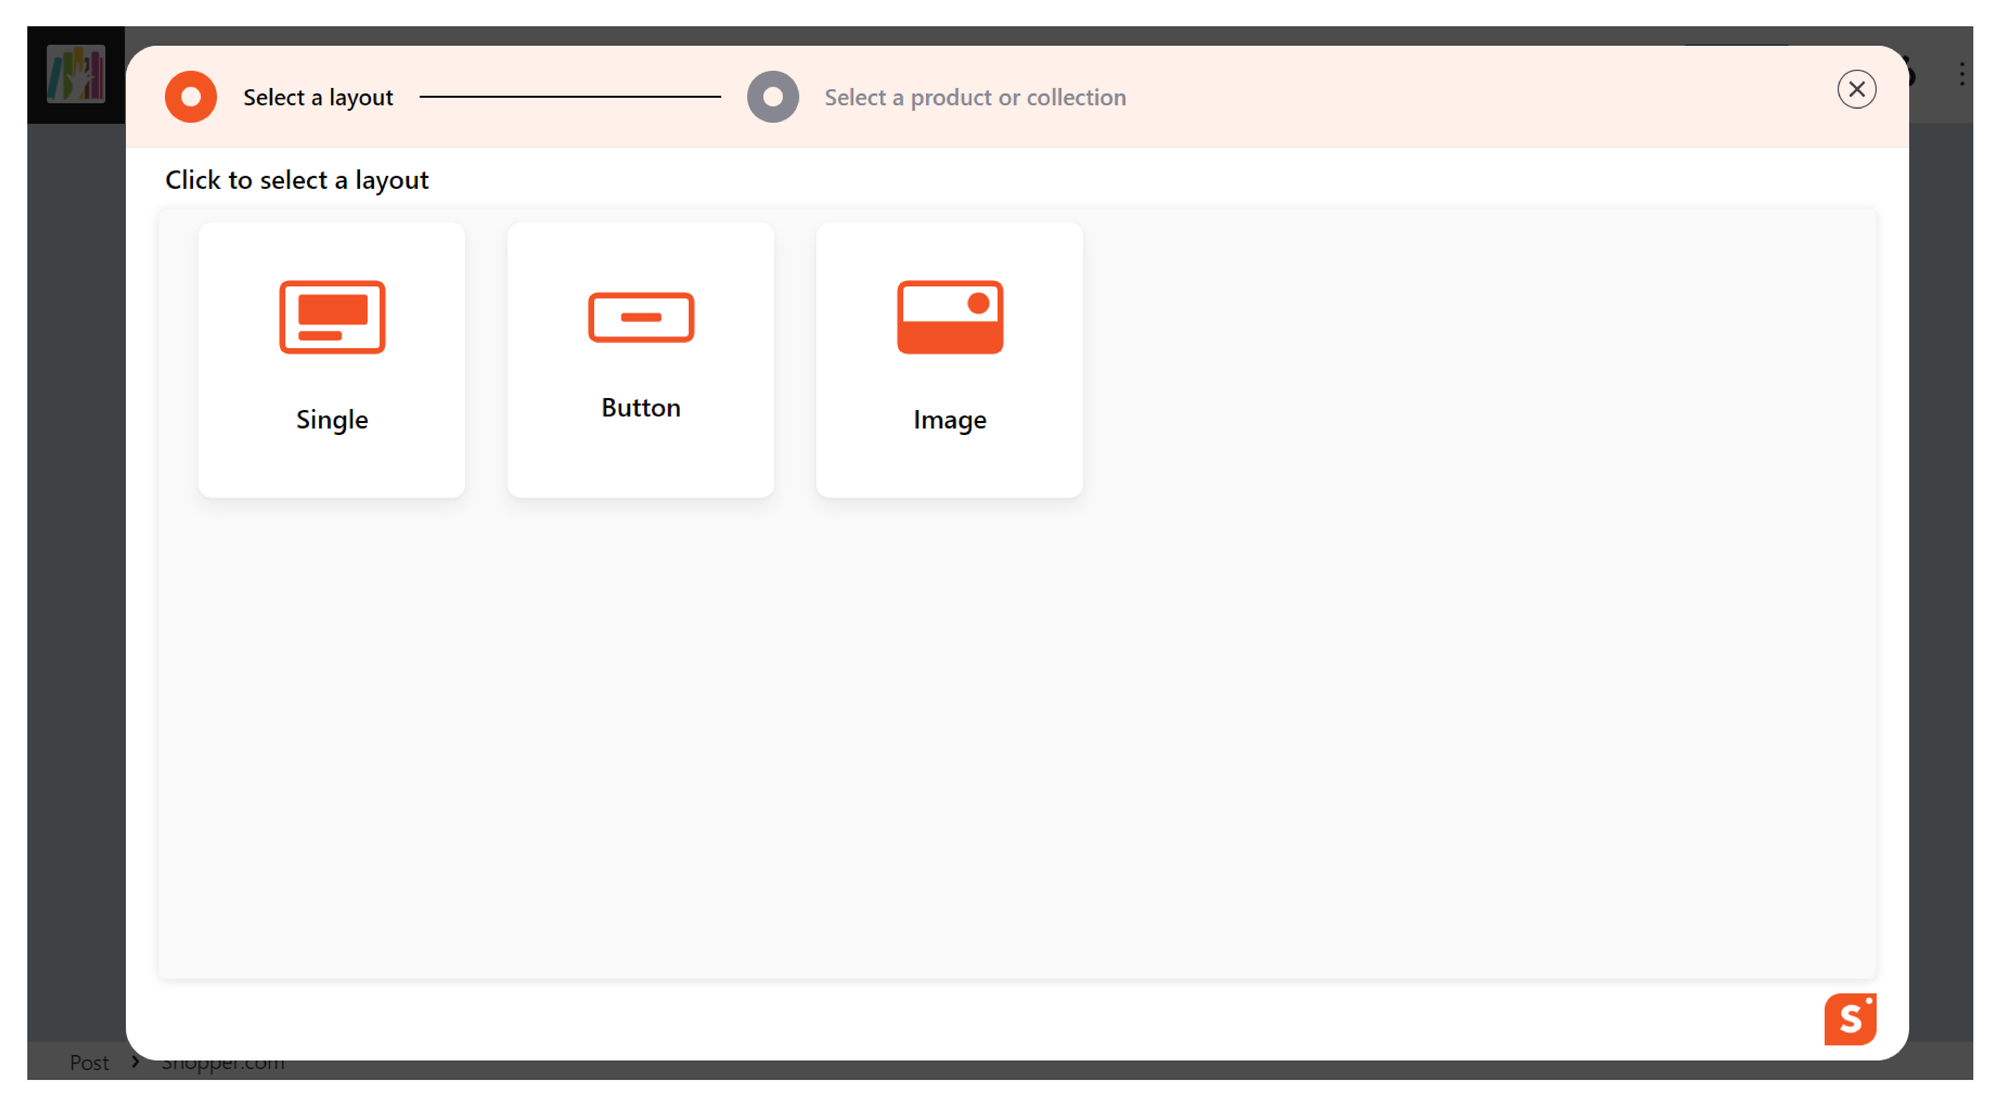
5. Once opened you will get the option to select the layout and then select the product you would like to add.
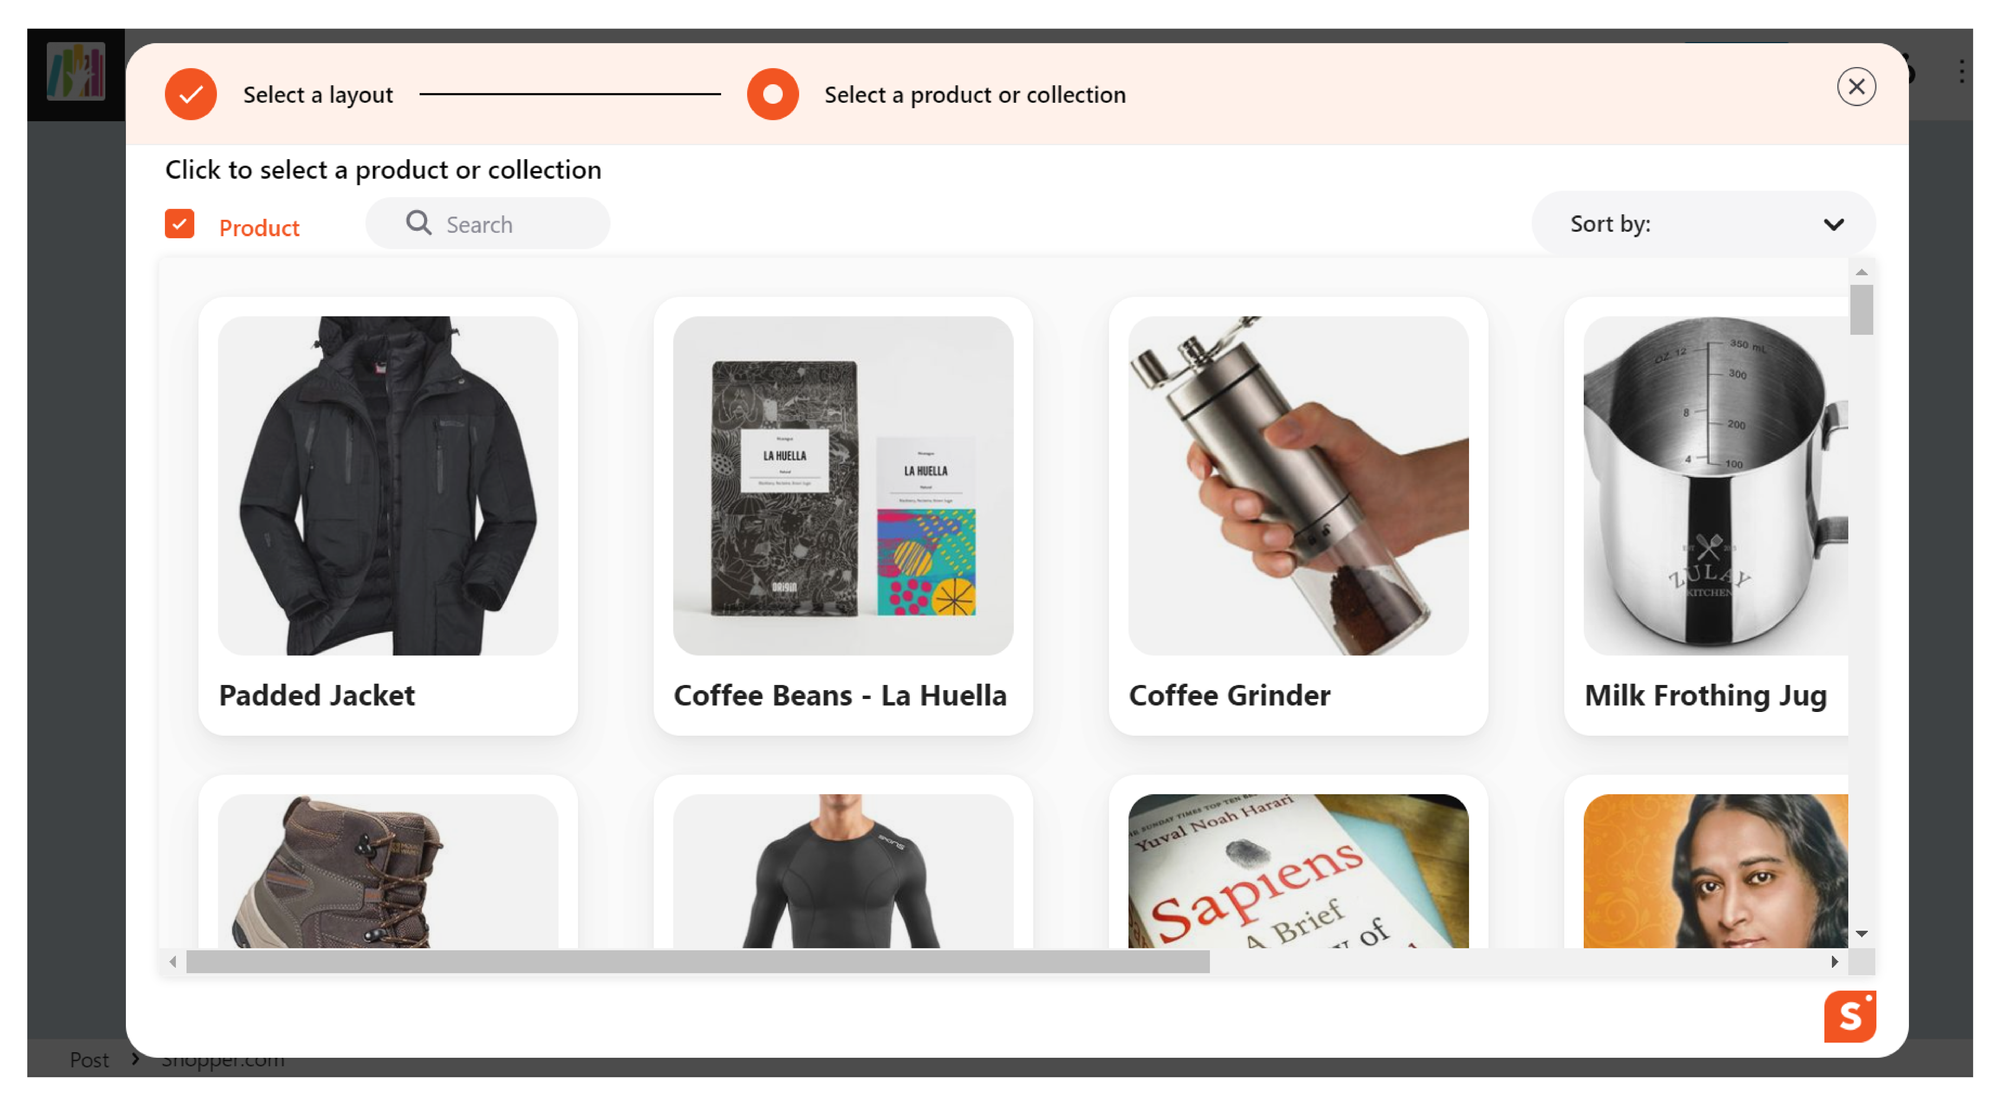
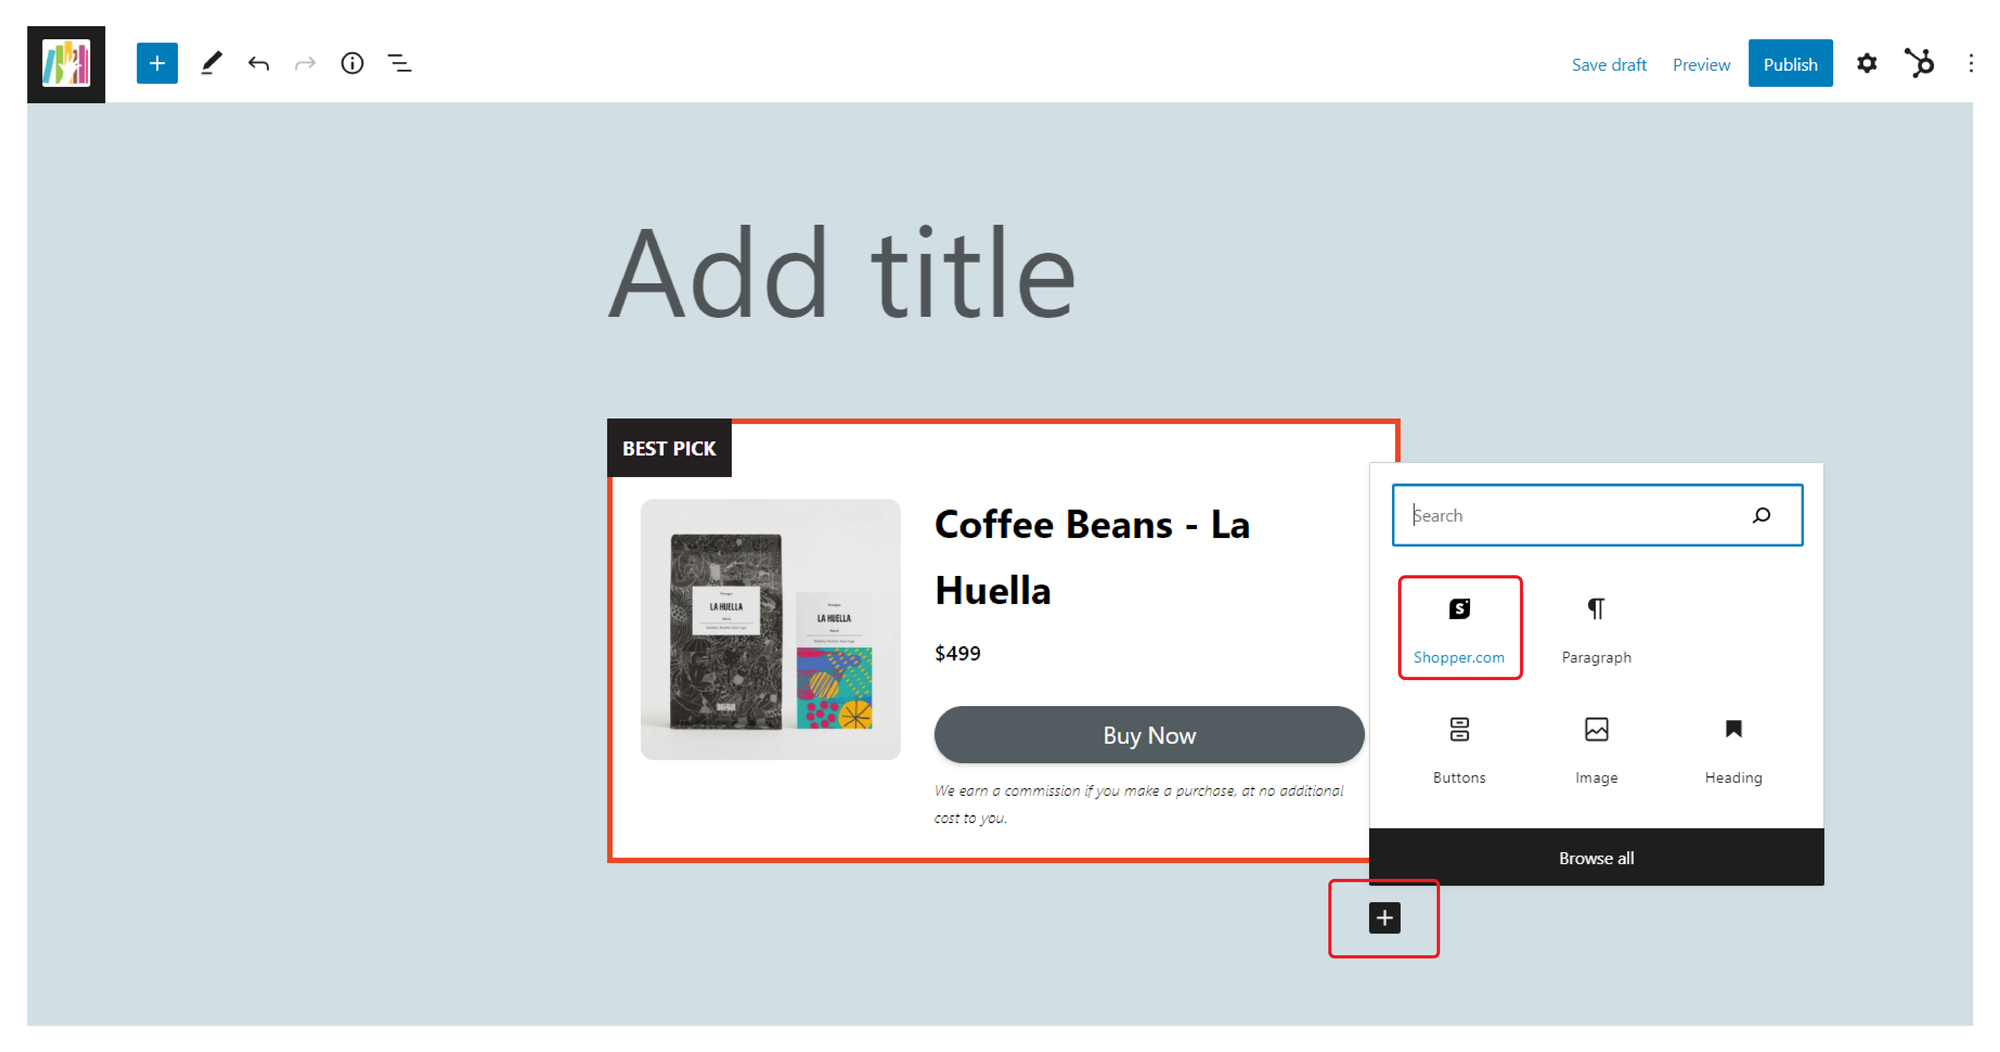
6. The product will be added as a block on your post.
7. Click on the plus button under the block you added to add a new block.
How to Edit Your Product Display Blocks
You can edit various features of the product display blocks by opening the block properties window. When you open the block properties option, a sidebar will appear to the right of the screen that will feature some extra options for the block.
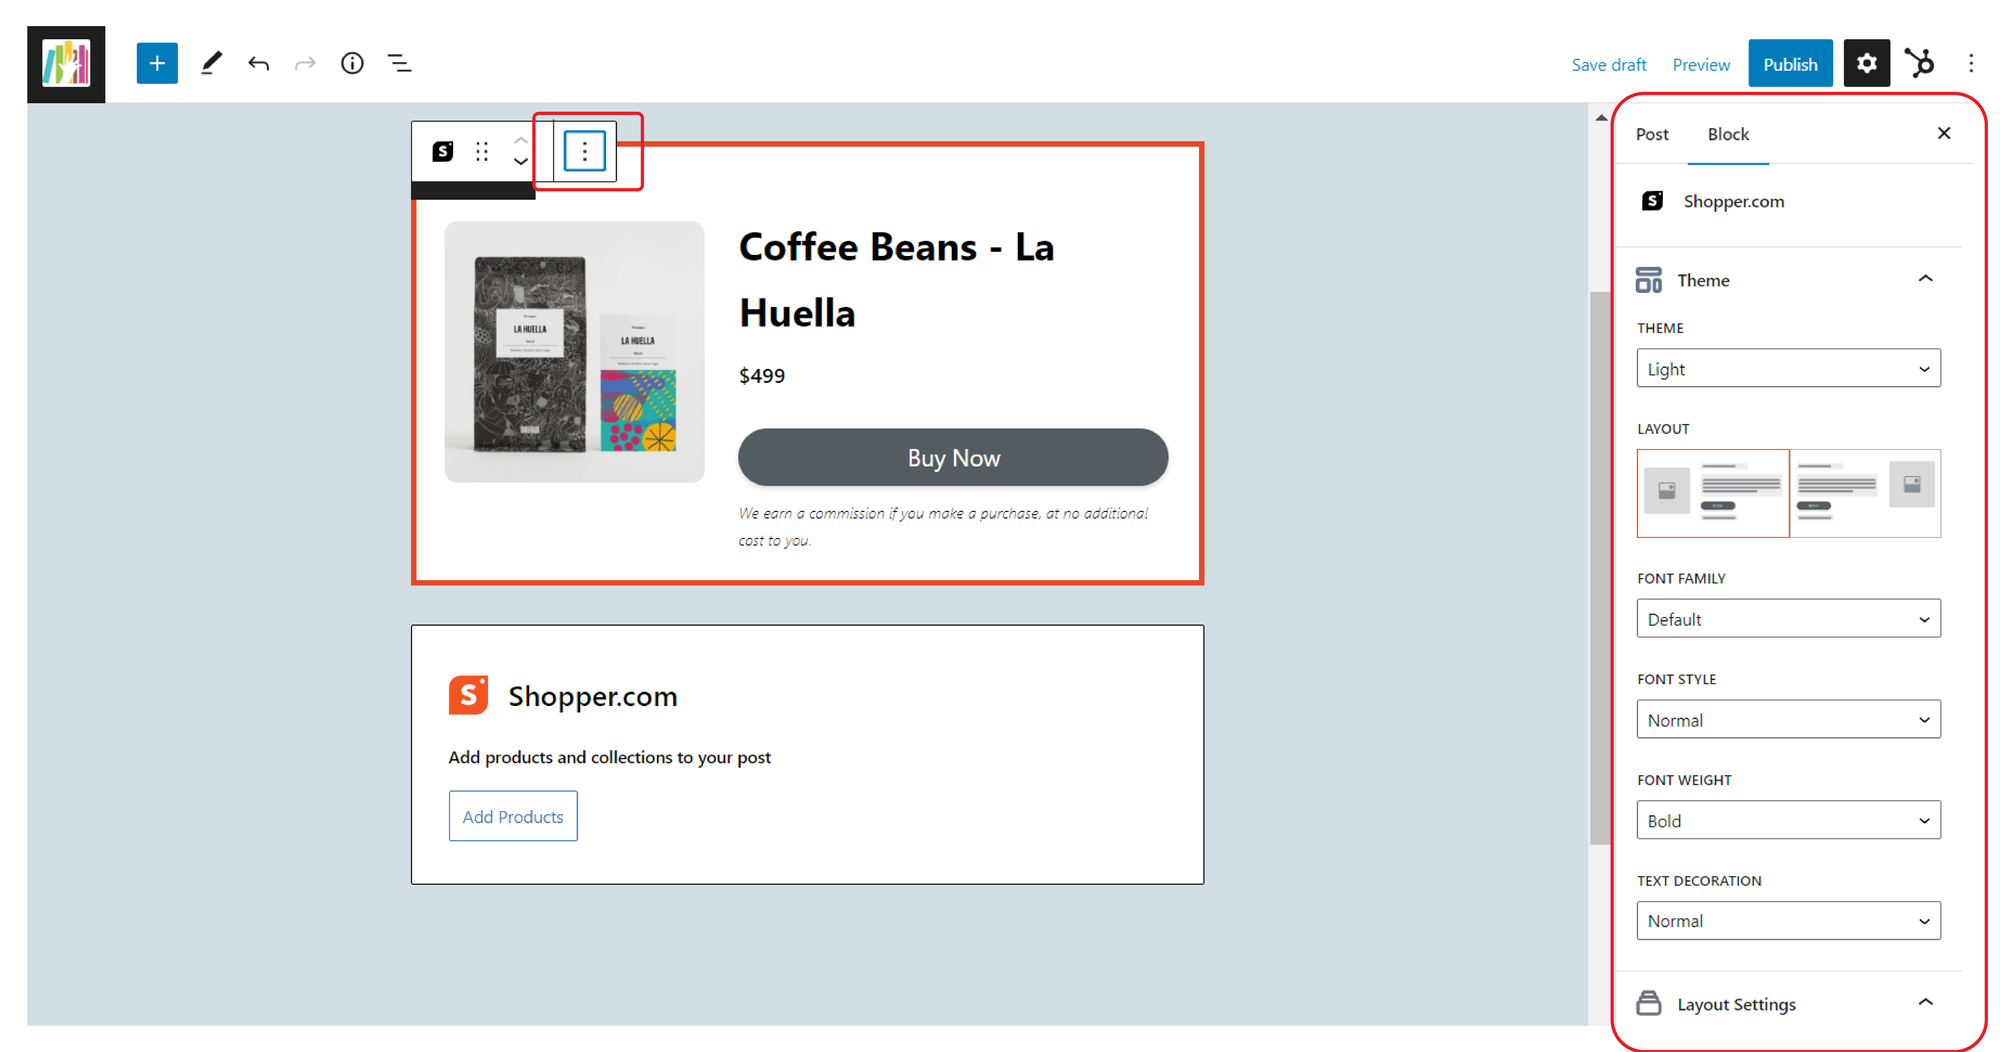
For text blocks, you will options like paragraph, text settings, color settings and advanced options.
In the events of having multiple products - you can follow the same steps and select individual blogs, one by one and add products or text as per your requirement.
How to Rearrange Block Order
Messed up the layout or arrangement of the blocks?
Don’t worry, they can be easily rearranged according to your convenience. Blocks can be moved around as your requirement, and you only need to follow these steps to rearrange block order:
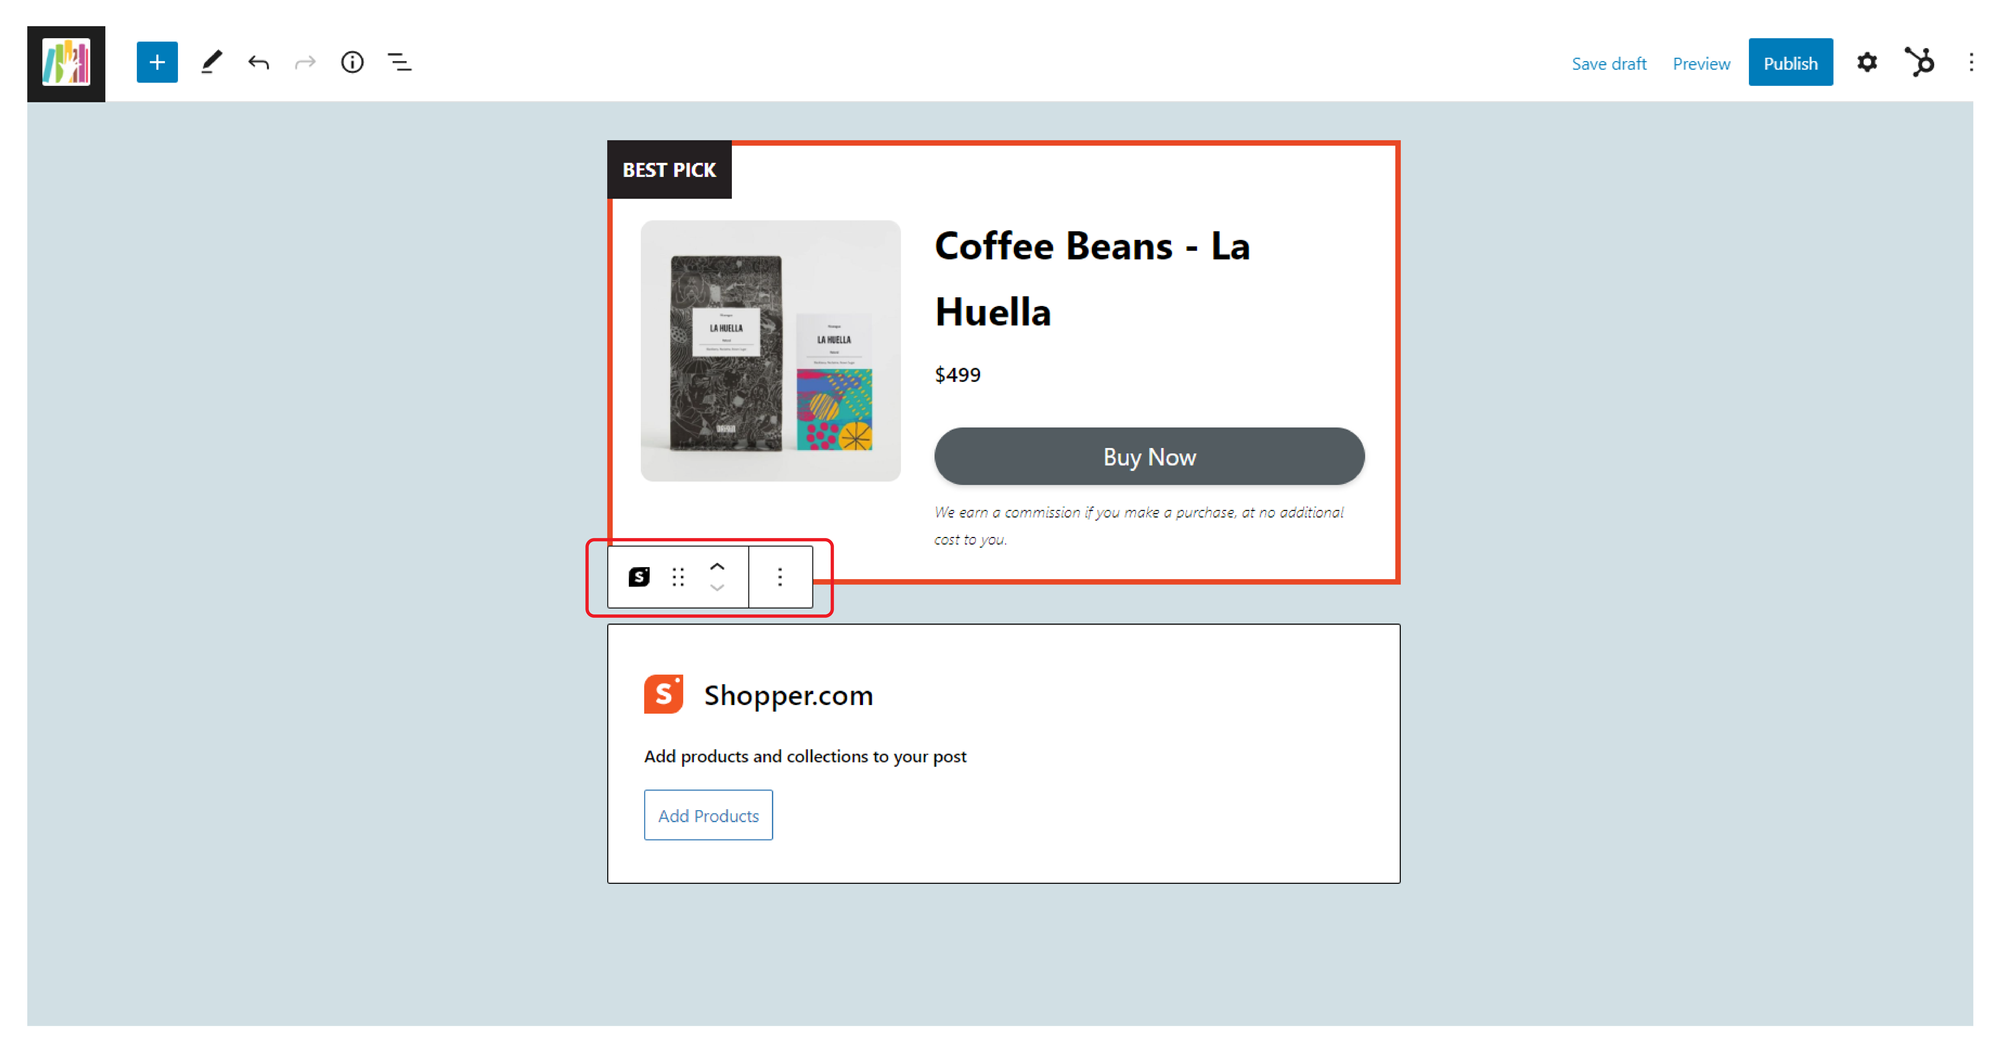
- Hover above the block that you want to rearrange.
- You will notice a block and two arrows appears left of the block
- Click on the block (dots) and drag the block to a new location
- Alternatively, click on the two arrows to select the direction you want to move
You can use the drag or arrow options to move the blog and add it to a new location.
