How to Edit YouTube Videos
Learn how to edit videos on YouTube in simple steps, and how to make successful videos.
More than 300 hours of video content is uploaded to YouTube every minute.
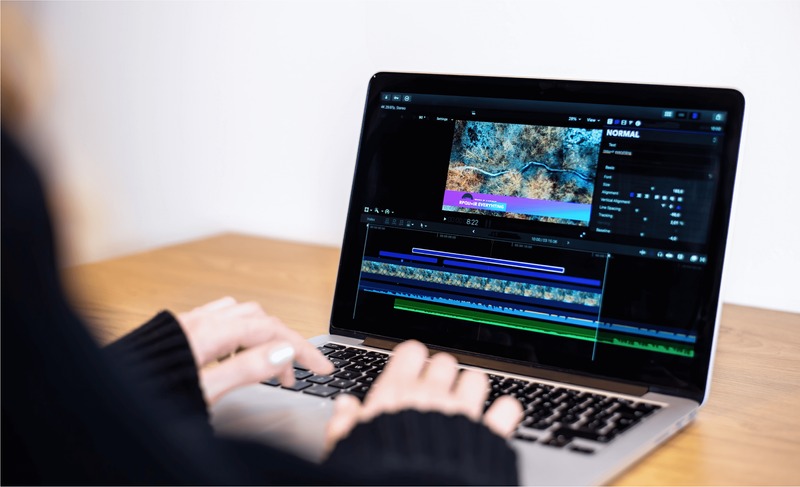
To make sure that your video gets the attention it deserves, it is important that you spend time editing your YouTube videos. There are several ways to edit YouTube videos and you can either go with online YouTube video editors or go for offline editing to make sure that everything looks great.
YouTube also has an editor that allows you to fine-tune your content before publishing.
If you are new to YouTube, here is a detailed guide on everything you need to know about how to edit YouTube videos.
How to Edit YouTube Videos for Free
There are several ways to edit YouTube videos for free.
Many websites offer online editing tools that let you upload individual clips and have them edited into one single file. However, the features do tend to be limited for most of these free video editing services and some of them also accompany a watermark.
However, the majority of the free editors do get the job done.
Another great advantage of editing your videos from websites and services that offer free editing tools is that there are lots of visual effects, transitions, and sound effects. Most of the editing can also be done without registration or downloading any application.
Generally, the majority of the websites that offer free editing also follows a common setup and interface and you will need to follow these steps to edit YouTube videos:
- Open the browser and launch your favourite online editor.
- Look for the add file option, which is usually represented by the plus (+) symbol.
- Upload the video and audio files that you want to edit.
- Now, arrange them in the order you want them to be, and add music files.
- Make sure that everything is in sync and record any voiceover if you want it.
- If you are using multiple clips, make sure that you use transition effects between two clips.
- Do a final review and download the clip from the website.
Please note that some of the websites that offer online editors let you download the clip without a watermark by viewing an ad. See if the editing service you are using has such a feature or not before downloading your clip.
If you are planning to publish a video with minimal editing requirements, consider checking out the native YouTube video editor in YouTube Studio.
While they only offer very limited features like crop, adding/deafening of audio, and blur effect features, they do make you fine-tune an existing video to its best version.
How to Edit With the YouTube Studio Video Editor
YouTube Studio offers a very basic YouTube video editing interface that lets you trim clips out of any part of your video. More than being full-fledged, Studio can be best defined as a tool to make sure that your video looks perfect with all the unnecessary parts cut out.
Follow these steps to start editing your videos on the YouTube Studio Video Editor:
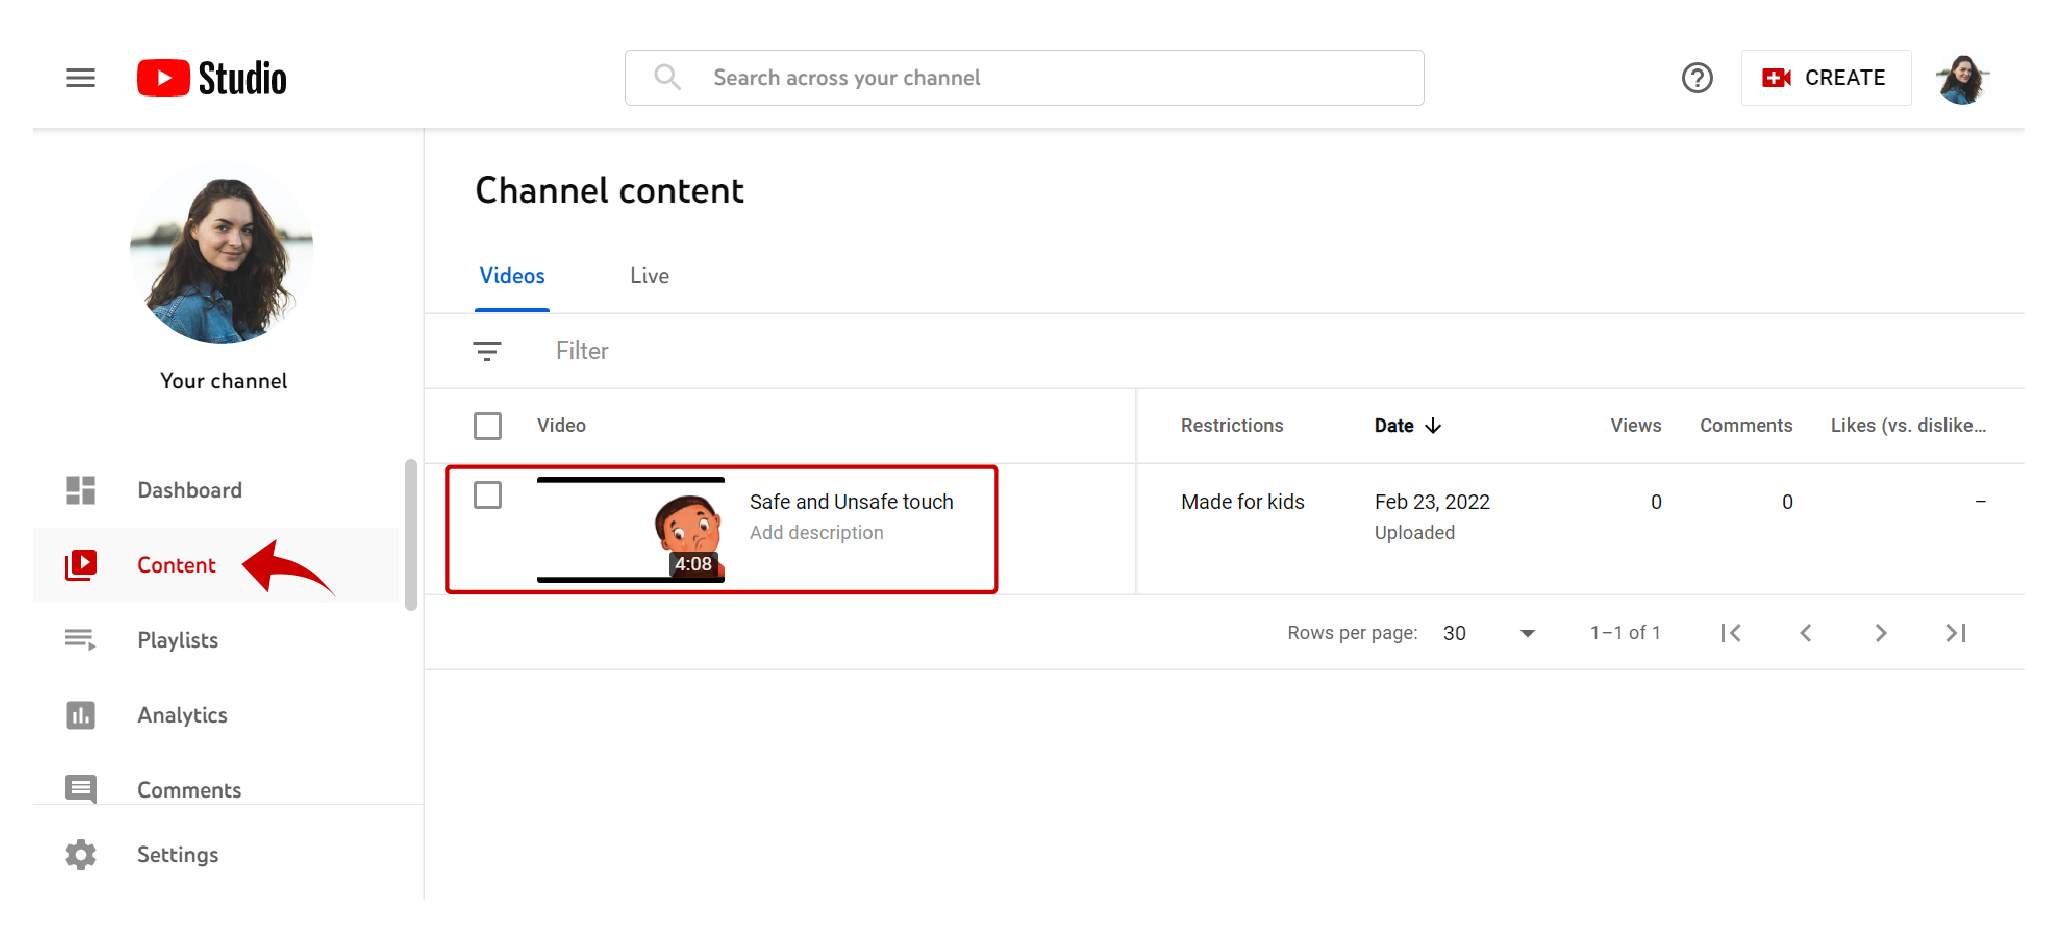
- Open your favourite browser and head over to YouTube.
- Log into your account and sign in to YouTube studio.
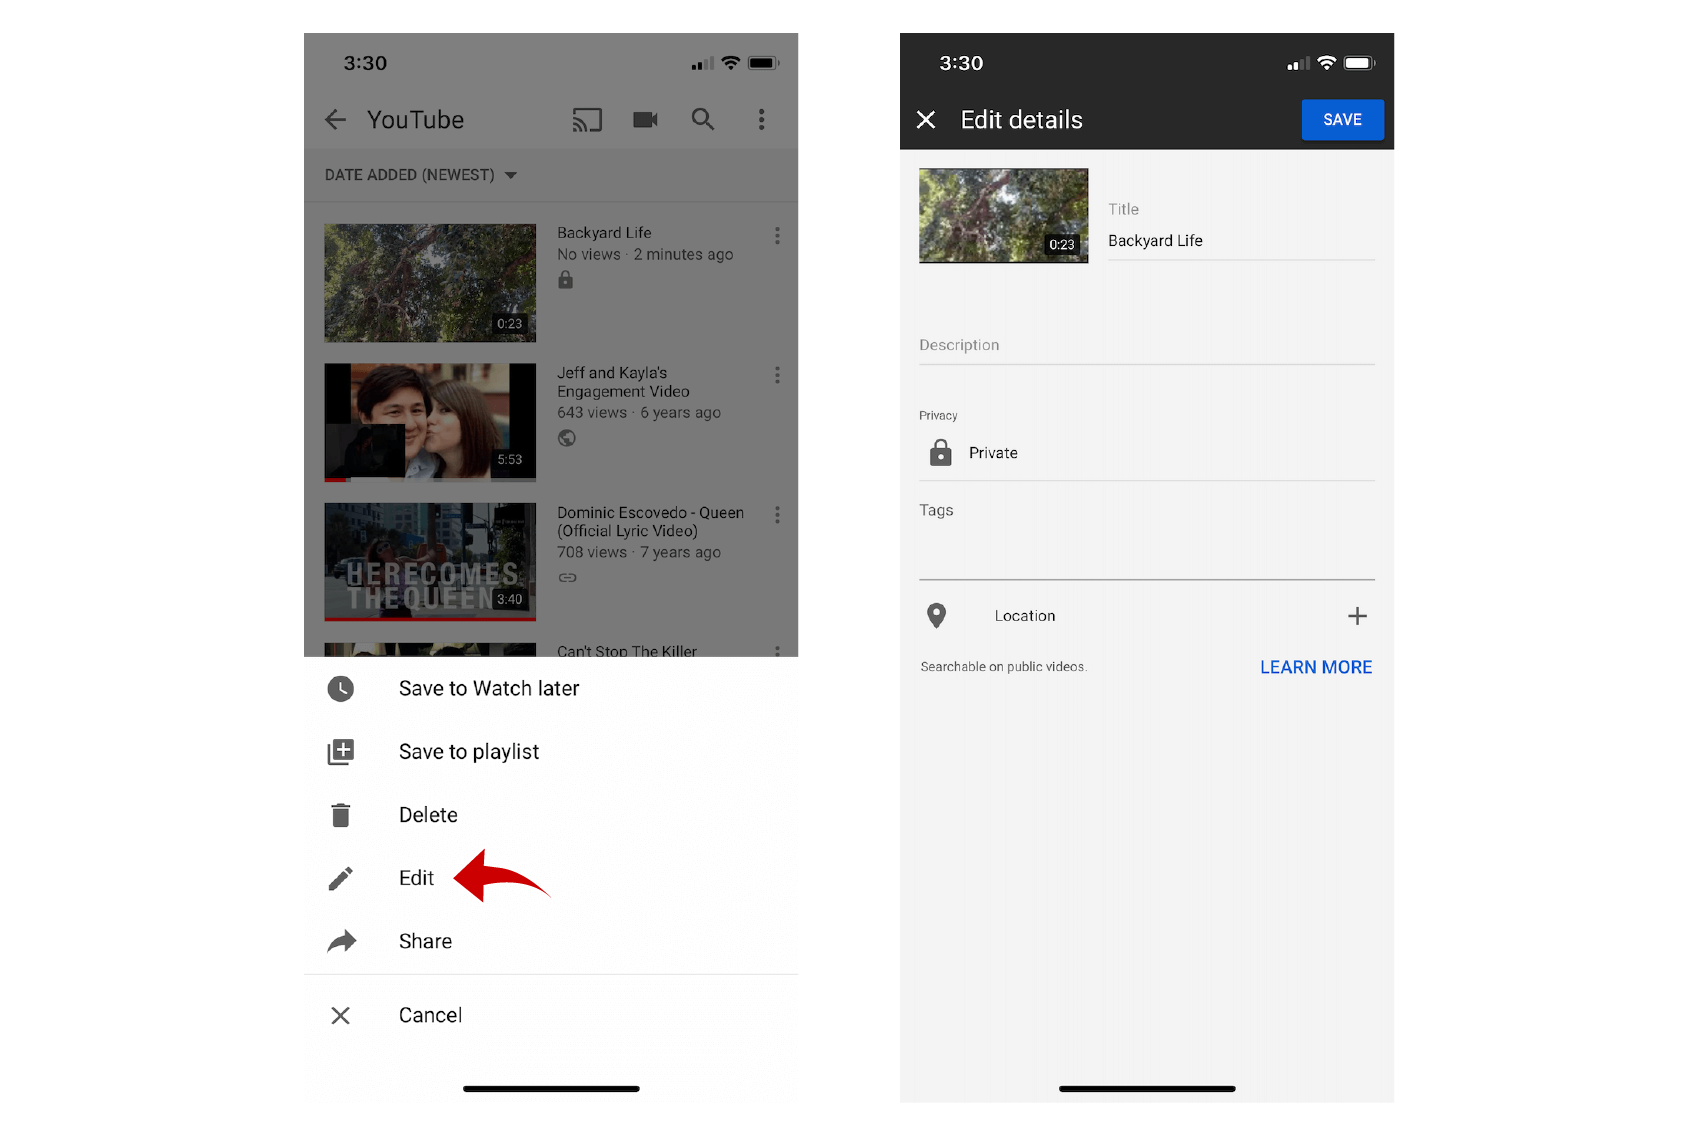
- On the left sidebar, click on the ‘Content’ option.
- Now click the details option by tapping the option with the ‘Pencil’ symbol.
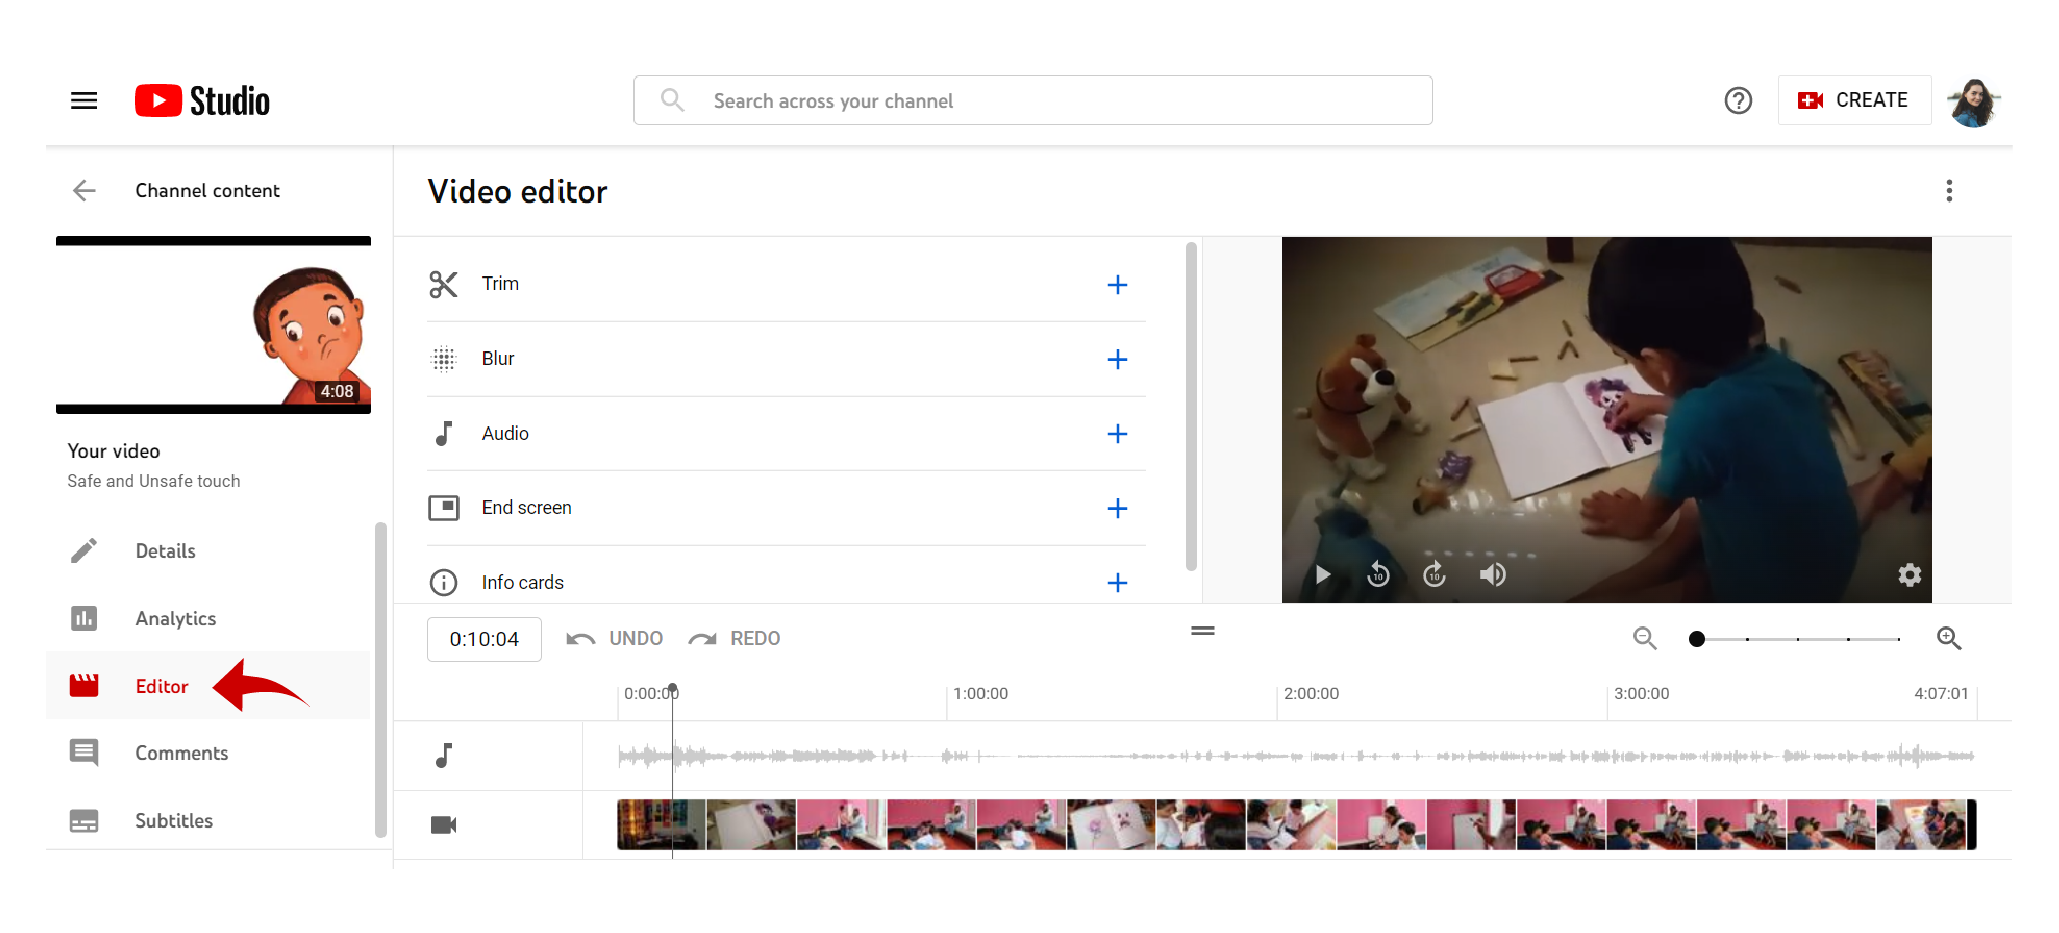
- Scroll down the left sidebar that appears and tap ‘Editor’
- In the editor, you have the option to trim, blur, change audio, add end screen, and info cards.
- Click on save changes to have your edit saved and reflected on the video.
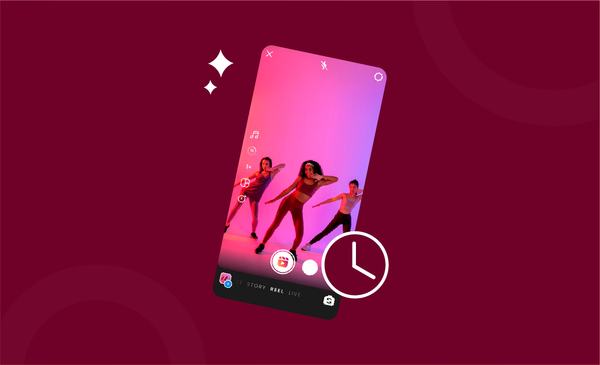
How to Edit YouTube Videos on iPhone
The YouTube App on iPhone is constantly evolving and adding new features regularly.
The updates are so good that the iPhone app is now more or less a mini YouTube video editing software. You can now trim the start and endpoints, add filters to tweak the looks, and add music to the background.
Here’s a step by step breakdown on how to edit YouTube videos on iPhone:
- Launch the YouTube App on your iPhone.
- Tap the camera icon at the top of the screen.
- Now, look for the ‘Scissors’ icon at the bottom of the screen.
- Use the ‘Scissor’ option to crop/trim the beginning or end of your video.
- By clicking the ‘Wand’ option, you can add filters to improve the video,
- To add music, you need to tap the ‘Music Note’ symbol.
- You can either add music from YouTube, or music from your device on your video.
- Once you are done with the edit, click on the ‘Next’ option.
- Enter a title, add a description, choose privacy and location settings.
- Click ‘Next’ when you are done to have the changes reflected and get the video published.
Best Practices for Editing YouTube Videos
Before you start editing videos for YouTube, it is important that you get a better picture of how editing works. From having access to the best YouTube video editing software to knowing how to use the editor, all help improve the overall output of your video.
That’s why we have you covered with some of the best practices for YouTube video editing:
1. Choose an Editing Software That You Like
When it comes to YouTube video editing software, you will be literally spoilt with choices.
Now, different people have different likes and dislikes. Some might like one software more than the other and the other might like a different software.
Even in the same software like let’s say Adobe, you might prefer Adobe Premiere Rush more than Adobe Premiere Pro, even though Pro comes loaded with features when compared with Rush.
However, it all comes down to how comfortable you are with particular editing software. That’s why it’s really important that you choose editing software that you like working with to get the best results.
2. Be Eagle Eyed and Never Hesitate to Trim Videos
Trimming is an art that can make or break a video on YouTube.
There is no real ideal length for videos as it differs from one channel to the other depending on the audience, location, and interest a particular creator generates. However, it is important that you always trim videos to make them look better overall.
Always review your video entirely before proceeding to publish. If there are multiple clips, it’s really easy to miss out on transitions and improper cuts.
Sometimes, you will also have to compromise on video length and may have to cut out some parts you really like if that increases your video’s overall impact. It’s important that you do what’s right for your channel and trim out the irrelevant parts.
3. Give Importance to Coloring, Audio, and Video Quality
Colour correction and grading, along with audio and video quality of the footage are some of the major talking points of editing videos for YouTube.
When they are spot on, it reflects in the overall output of how the video looks. It can instantly give off a better video than another that does not have detailed editing. Always see editing as an enhancement to improve the overall output of your video.
Give editing the attention it really deserves. For instance, by colour correction and colour grading being right, you ensure that visual factors like brightness, saturation and contrast of videos are uniform across all the video clips.
It is quite normal to have exposure-related issues while shooting video footage. Your image might not have enough brightness by default and it always helps when you manually increase it.
Never edit for the sake of editing. Instead, edit your YouTube video so that it improves the viewing experience of your audience.
5 Best Video Editors for YouTube Beginners
When it comes to YouTube video editing software, there are now hundreds of options to choose from. If you are new to video content and not sure which one works, here are some recommendations to consider:
1. Adobe Premiere
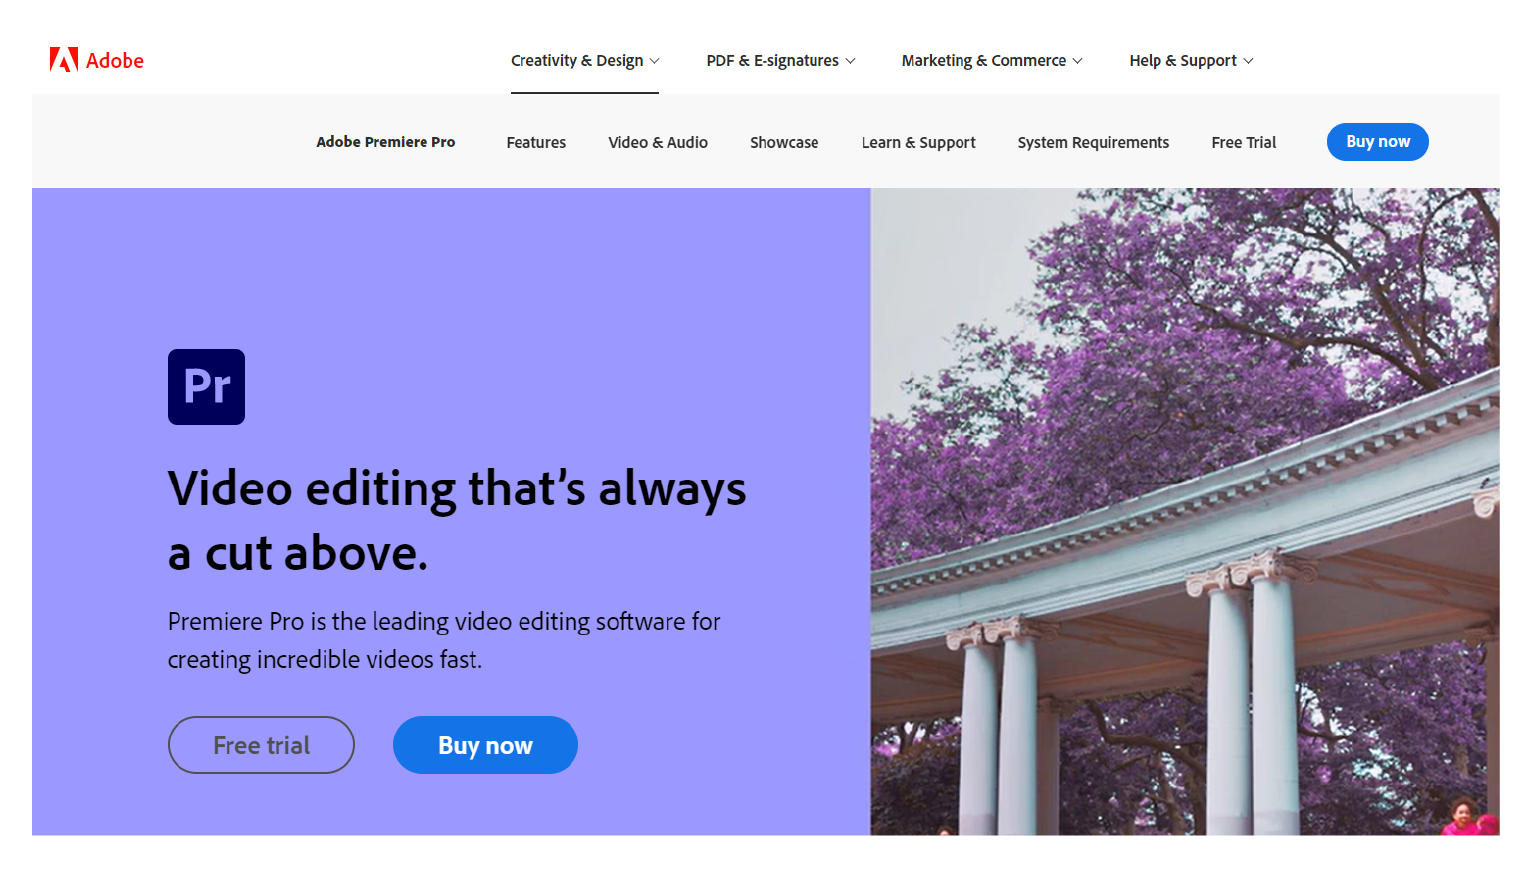
Adobe has been a significant name in the photo and video editing industry for a long time.
Premiere offers powerful software that can be used as your main YouTube video editing software. They have a simple interface, and with recent updates making it much more accessible to share content on social media, it only takes a click to get your edited video uploaded on YouTube.
They also have one of the biggest collections of effects, transitions, filters, fonts, and even stock footage. The best thing about Adobe Premiere is that there is a Premiere for all kinds of creators.
Beginners can check out the simple interface Adobe Premiere Rush, whereas people with experience in editing can go for the advanced version called Adobe Premiere Pro CC.
2. Kapwing
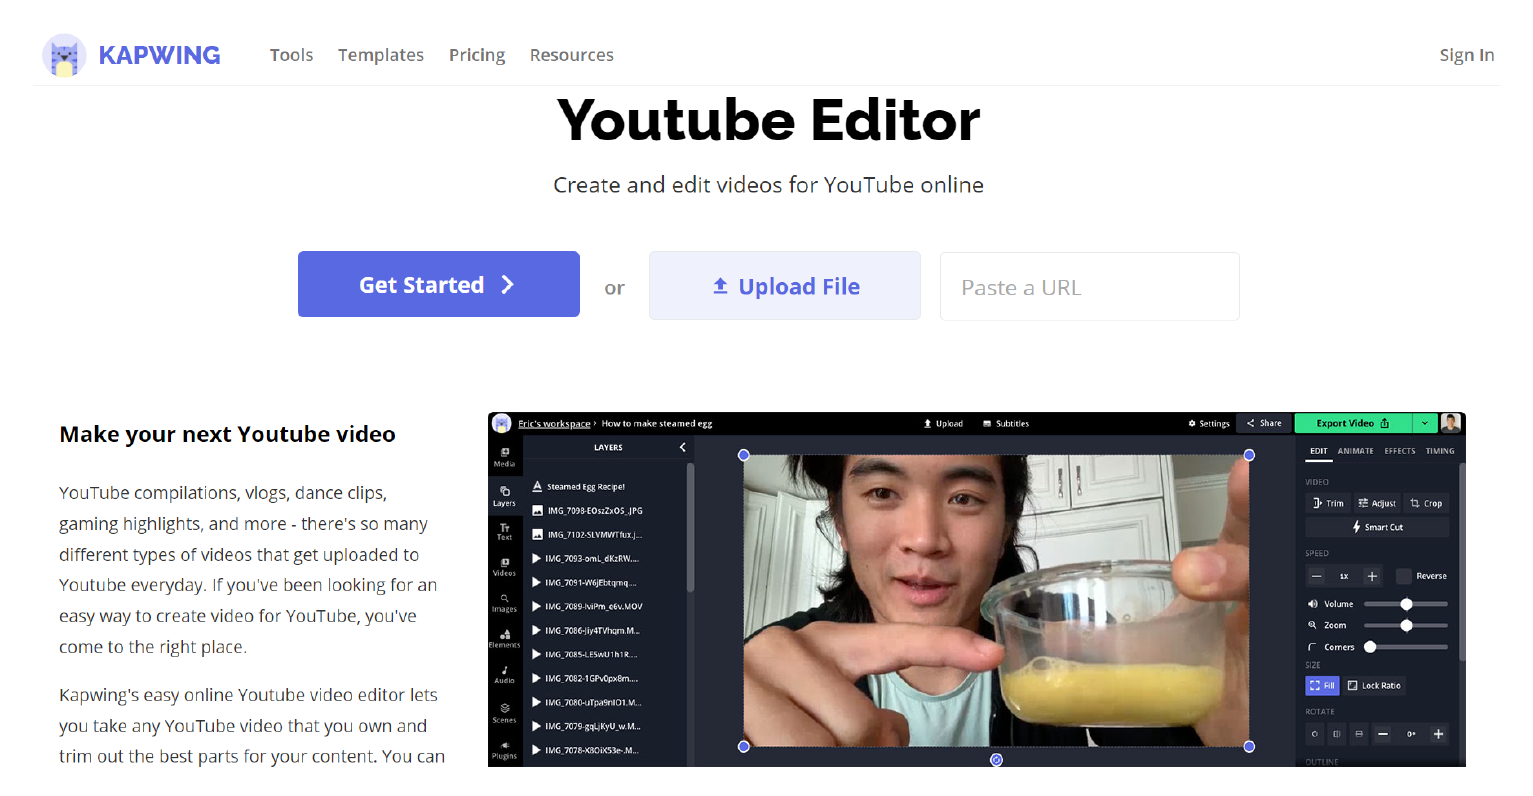
If you are not into downloading a YouTube video editor, consider going for free online video editors like Kapwing.
Kapwing offers a great interface that is easy to learn and work with. If that was not enough, they also have all the basic functions of a professional YouTube video editing software like Adobe Premiere and Final Cut Pro.
You are free to add effects, crop and trim videos, merge two parts of a video together, add transitions in between, use overlay images, and sync audio with video. Kapwing even has a subtitle generator that works with many different languages.
3. Lightworks
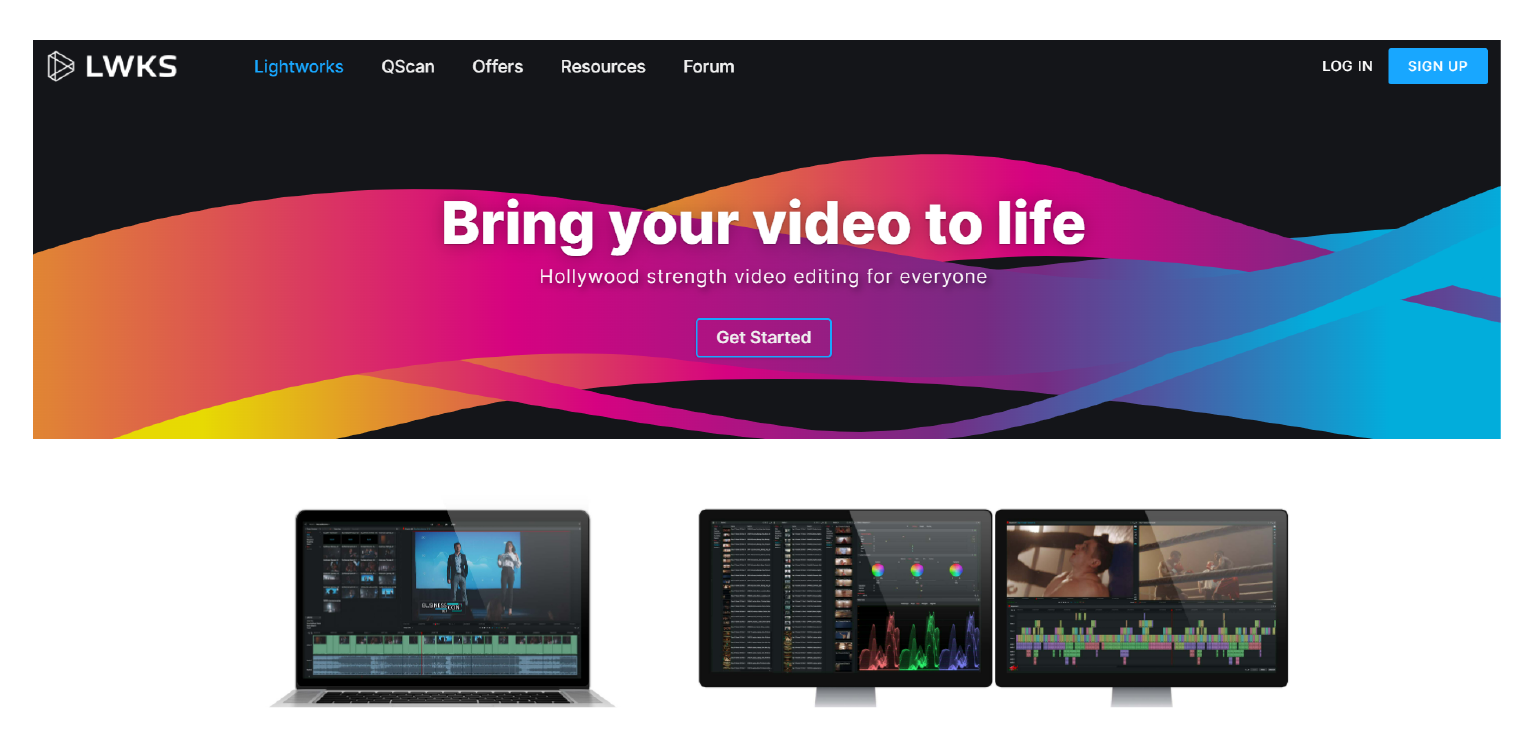
Beginners on the platform definitely need to consider checking out Lightworks, which is one of the, if not the best YouTube video editing software today.
The interface is so smooth that you can easily create professional-looking videos at ease. The major plus point of Lightworks is that you can use the interface to create videos in SD and HD with just the free version of Lightworks.
It does help to have the full version as it offers a plethora of video editing services in addition to the already diverse free version of the YouTube video editor.
Lightworks also supports a wide range of video formats.
4. OpenShots
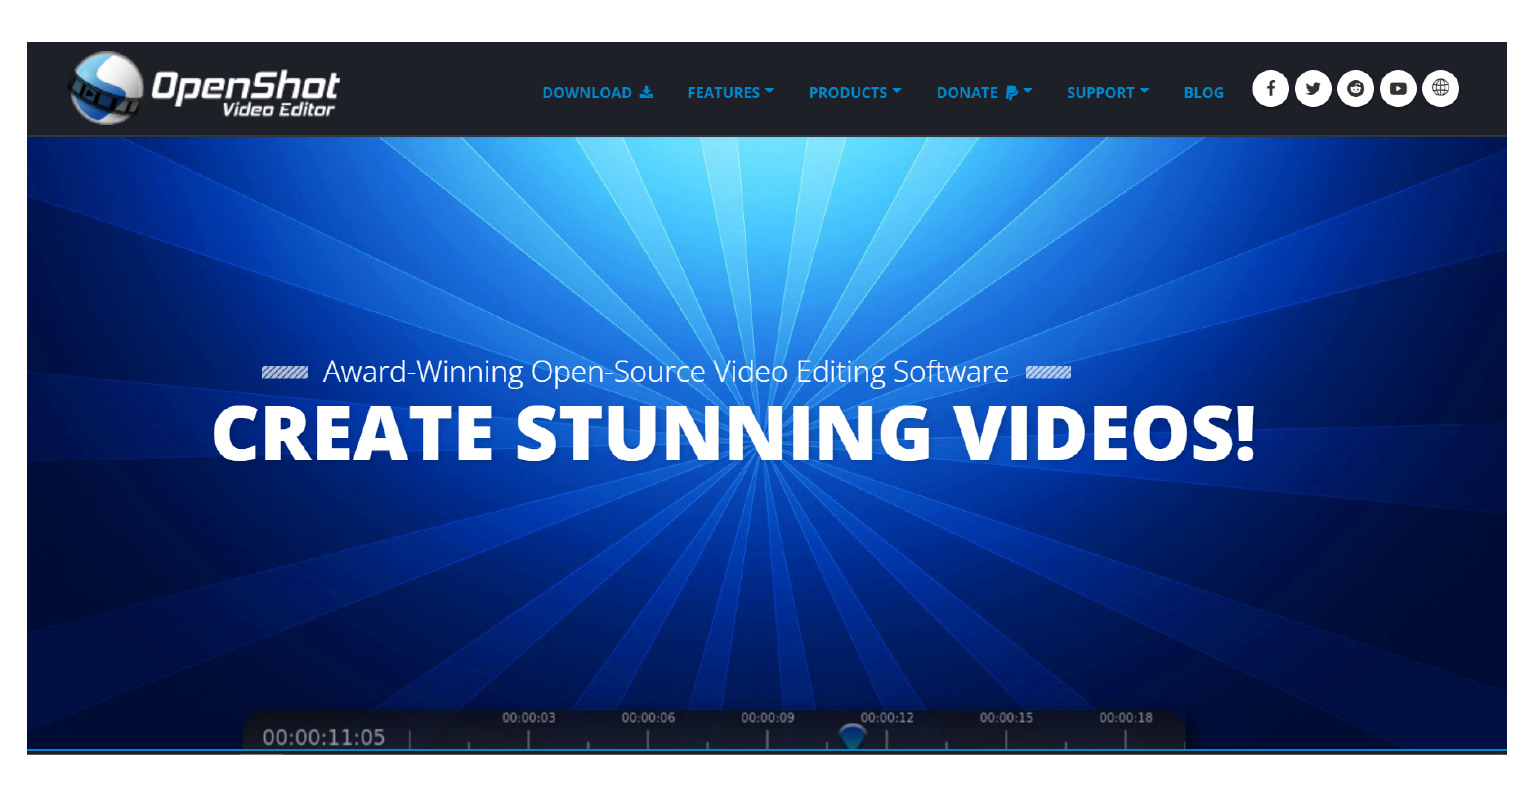
OpenShots is yet another amazing YouTube video editor that has a seamless and easy-to-use interface.
Even though they don’t have tons of features, you can get all the basic editing like resizing, trimming, scaling and similar editing is done. There are also dedicated tools for audio editing, frame stepping and even real-time preview.
You can also adjust the video effects like brightness, hue, and saturation. Keyframe animation capabilities, customizable title cards, and unlimited layers for audio tracks, background videos and watermarks are some of the key features.
5. Filmora
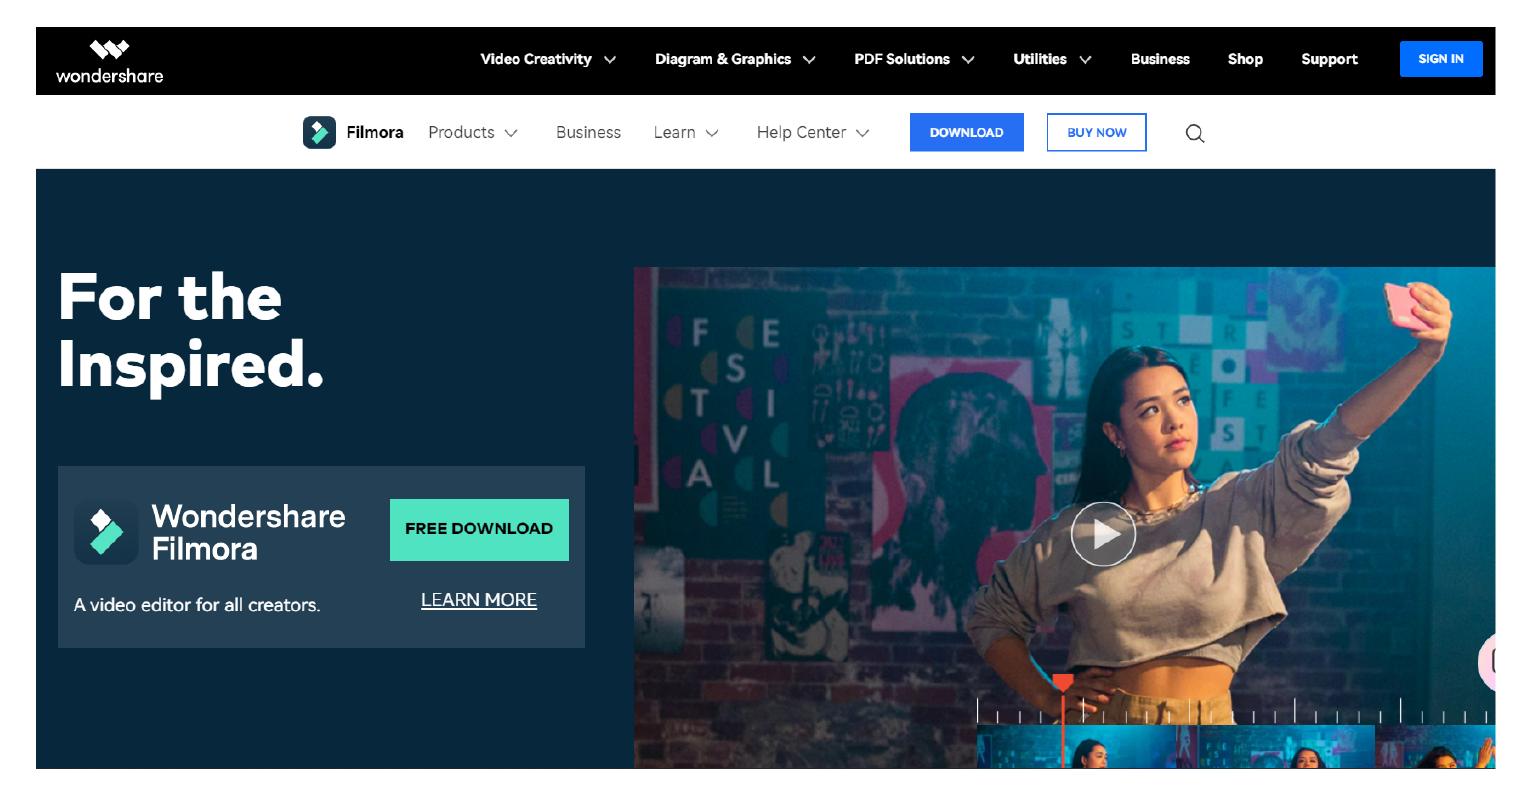
Filmora from WonderShare is a great place to start your video editing adventure.
Even if you are used to video editing or very new to it, Filmora ensures that you feel at home with its easy interface. It is one of the best YouTube video editing software for beginners that has a well-rounded line-up of video and audio editing features.
You can also check out some of their automated filters and colour grading features to see how your video would look with different output settings. The free version of Filmora also comes with tons of features.
What’s even better is that Filmora also has a mobile app which makes it a lot more accessible and easy to use, on the go.
FAQs regarding editing YouTube videos
How to Edit Uploaded Videos on YouTube?
It is very easy to edit already uploaded videos on YouTube. Yes, that’s right! You don’t need to delete an already uploaded video on YouTube if you want to make changes to the published video. Log into your account and access the Studio option. From there, click on content, select a video and tap the ‘Editor’ option to cut/trim published video, mute or change audio tracks, and blur parts of a video.